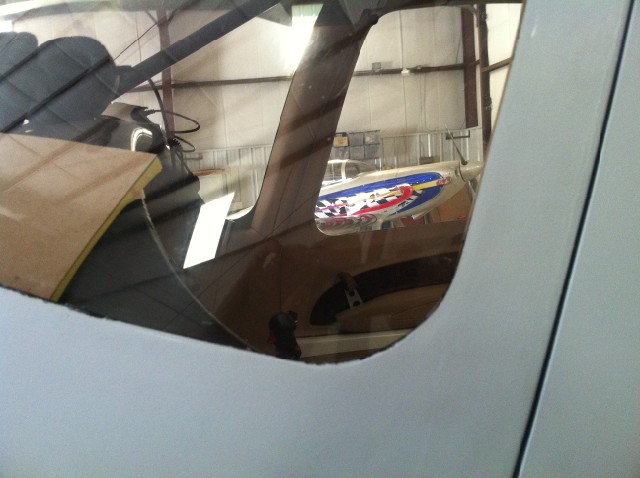
During assembly of the -10, a deep scratch occurred on the inside of the windshield. This was not discovered until all of the plastic protection had been removed. The scratch was located on the lower edge of the windshield left of center. Using a scratch remover kit, the scratch was sanded out then polished. Because of the depth of the scratch and the polishing required to remove it, a large fish eye was created on the inside of the glass. The airplane was flown like this for about 60 hours. Finally when it came time for paint, I decided it would be best to replace the windshield before paint.
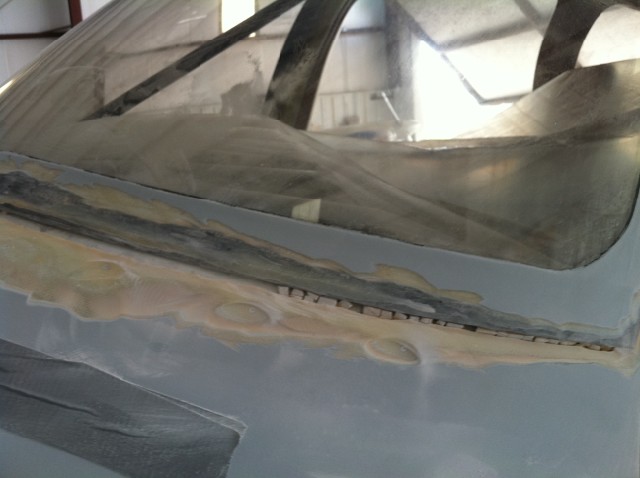
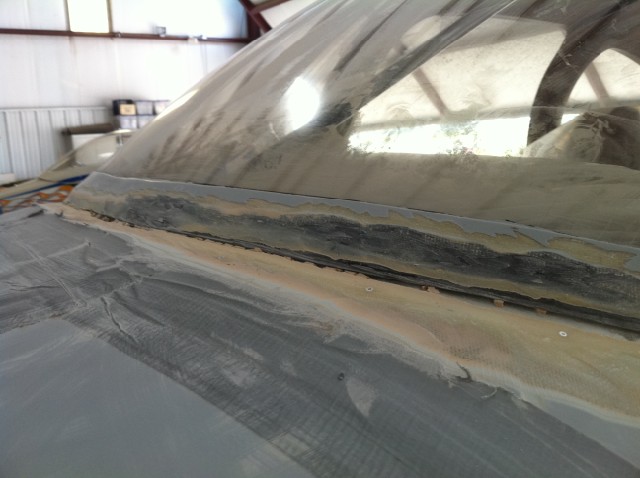
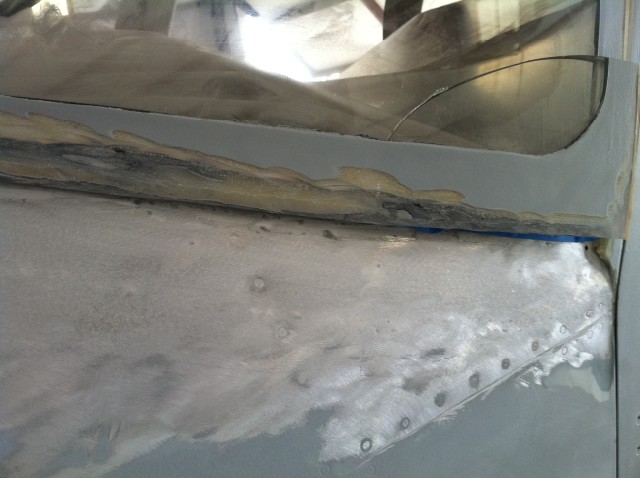
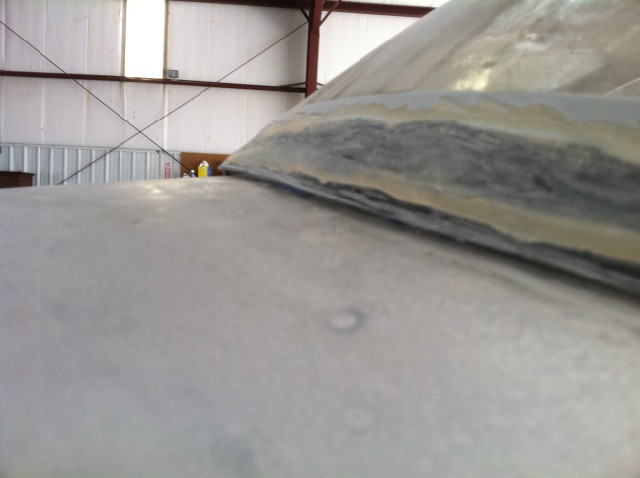
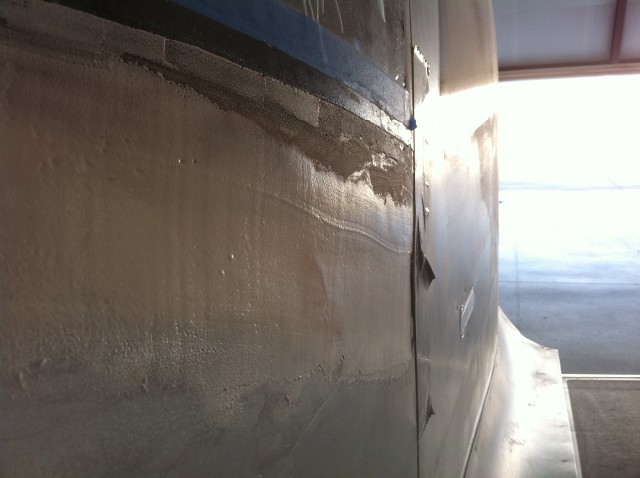
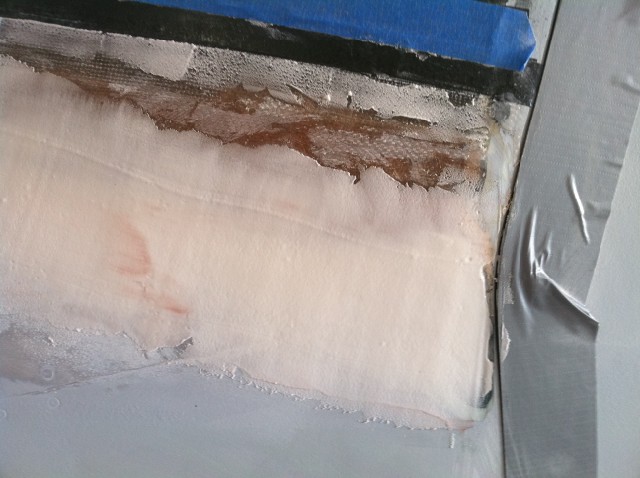
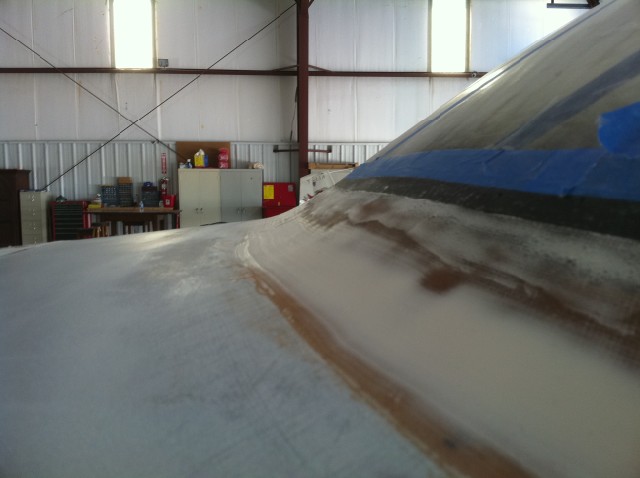
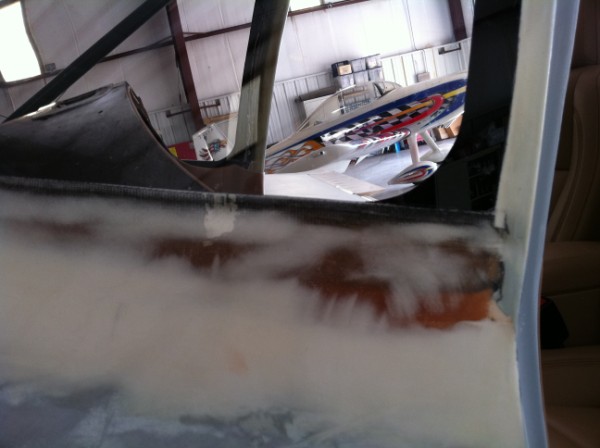
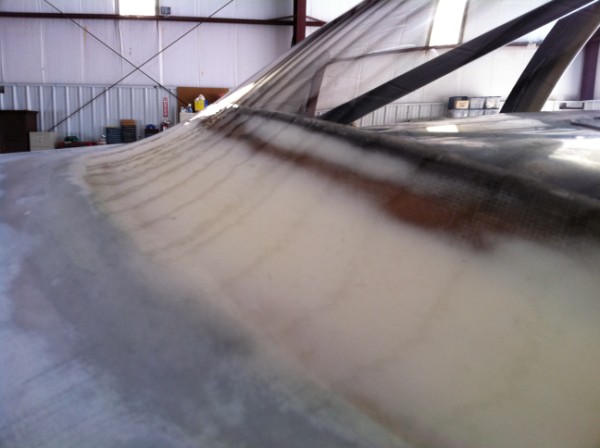
I started out with a 36 grit grinding disk. I removed enough of the lower lip to expose the bottom edge of the windshield. I then changed to an 80 grit disk and remove the remaining lower lip attached to the fuselage.
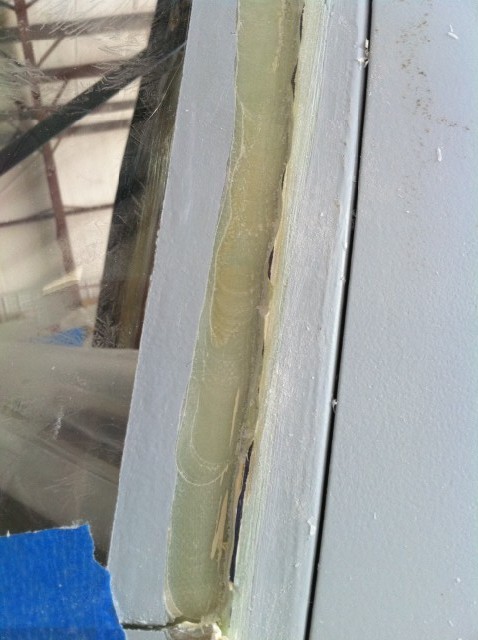
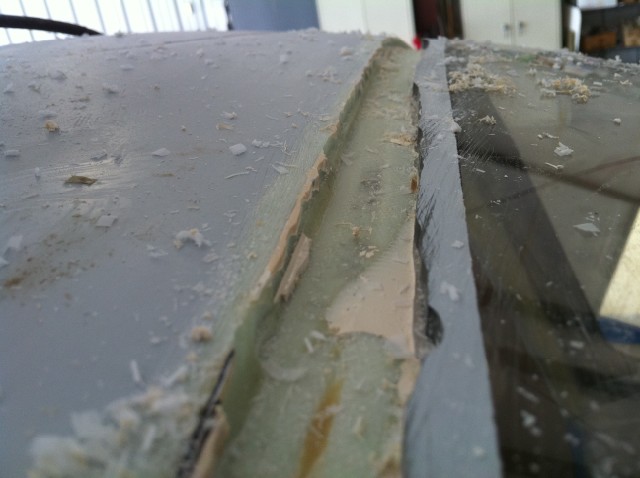
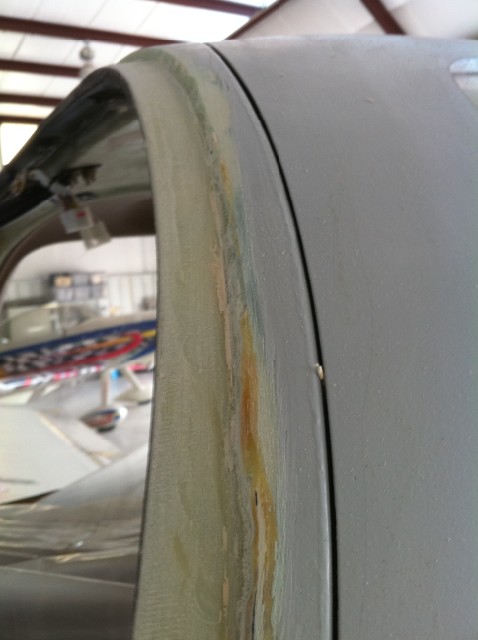
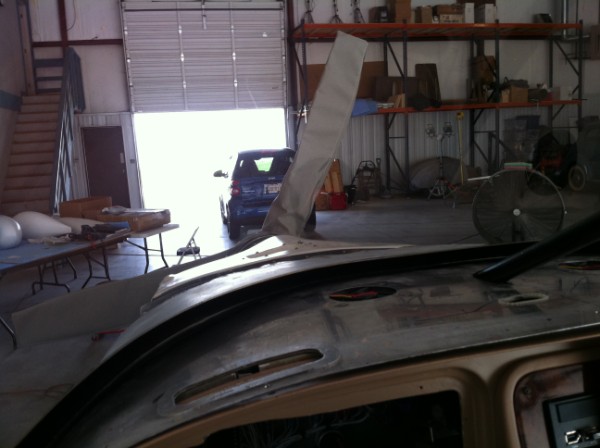
Next I used my plunge router with a 1/2" cutting bit. I incrementally removed the plexiglass in the upper and side trough of the fuselage top until I got down to the fiberglass lip. About a 1/4" of plexiglass was still attached to the fuselage top, so I took a screw driver and used it to separate the rest of the windshield from the fuselage top. The windshield popped off in one piece.
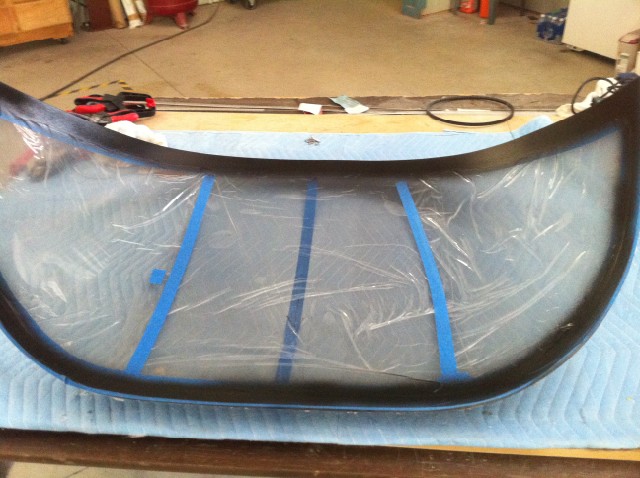
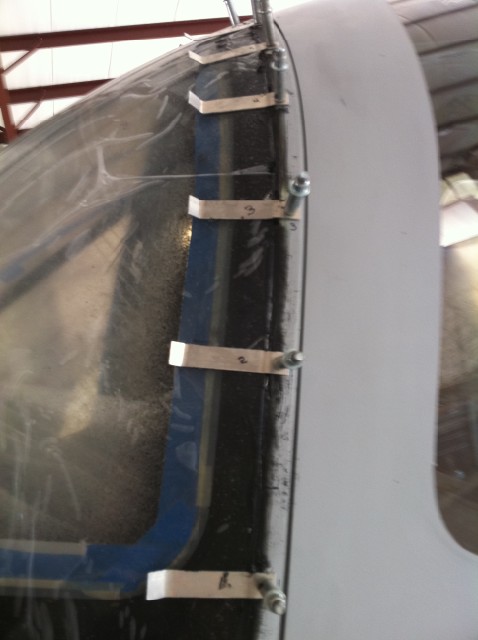
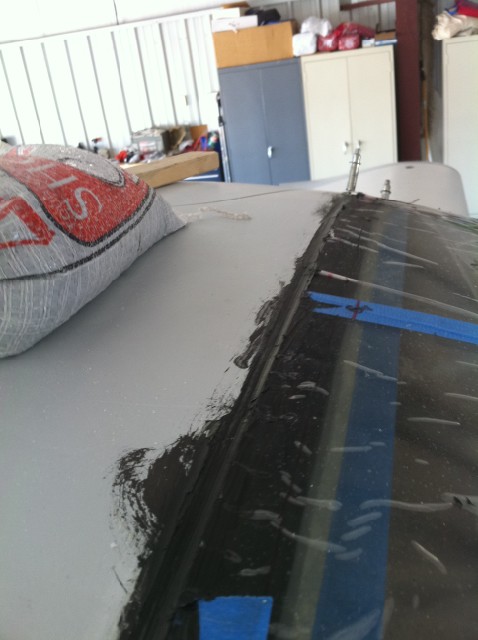
The new windshield came with marks for cutting. I placed the windshield on the fuselage and found I only needed to trim the sides and top for installation. I used a 80grit sanding disk to trim the edges. After the trim was complete, I painted the interior of the windshield black around the edge to hide the fiberglass build up for the lower lip.
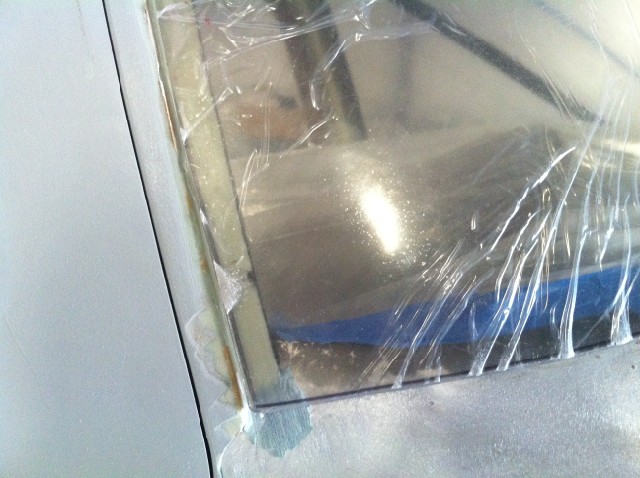
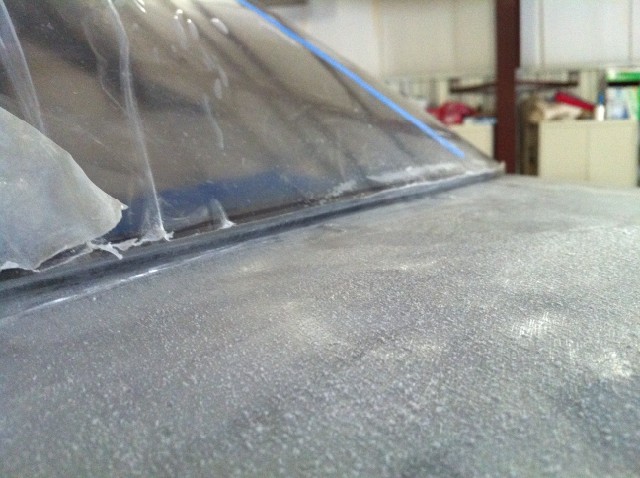
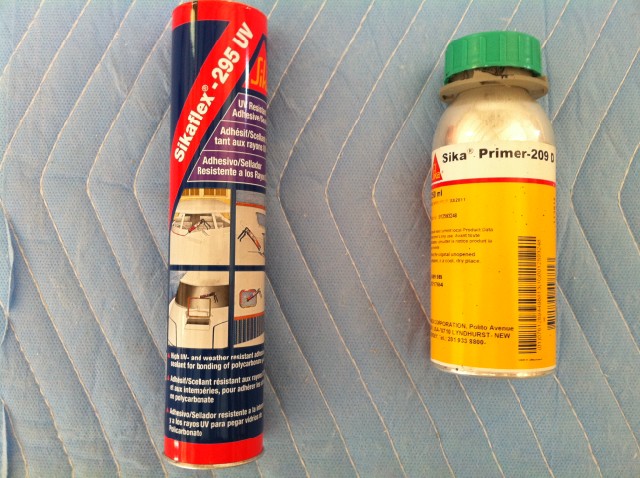
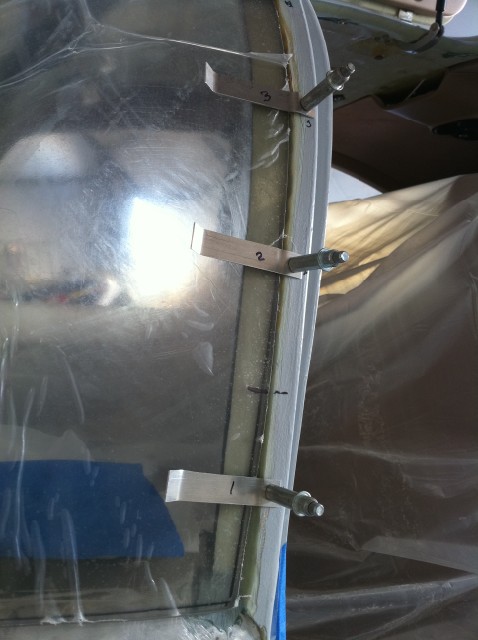
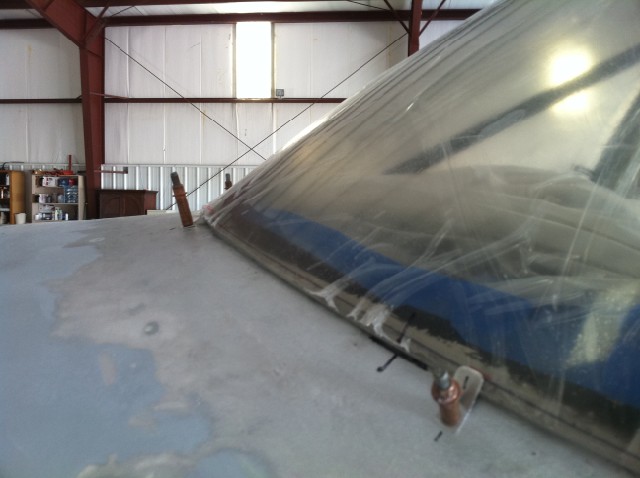
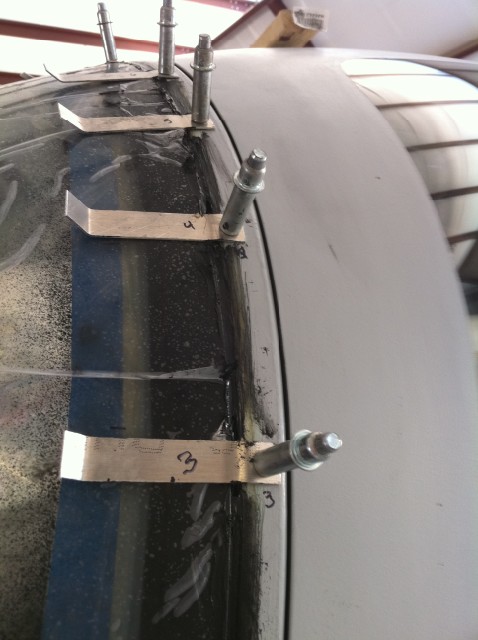
I used Sikaflex 295-UV for the bond and Sika primer 209-D purchased from Jamestown Distributors. The primer is brushed on the windshield and the fiberglass lip. After waiting the required 30 minutes, I used a caulking gun to lay a thick bead of the Sikaflex 295-UV on the lip. The windshield was placed back on the aircraft and hand pressed into place. I used 1/2"x 3" aluminum strips and clecoed them into the fiberglass top. This held the windshield in place while the Sikaflex cured. A tongue depressor was used to clean up the inside edge of the windshield where the Sikaflex oozed out. This made for a nice inside edge. Unlike Van's adhesive, the Sikaflex does not string out like spider webs. Mineral spirits can be used to remove any excess Sikaflex. The Sikaflex does not cure to a hard finish. It cures more like a hard rubber.
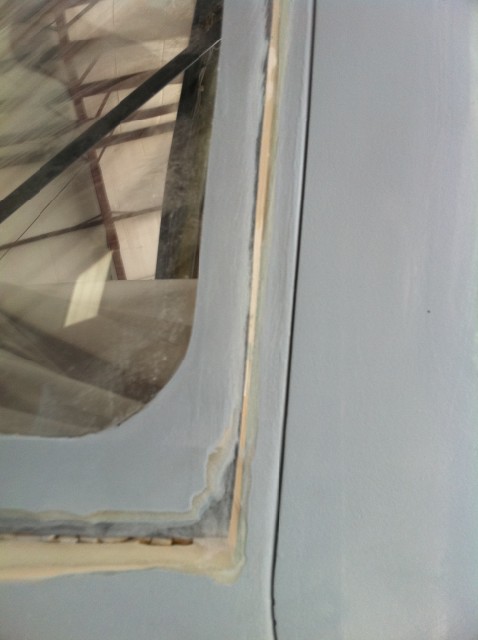
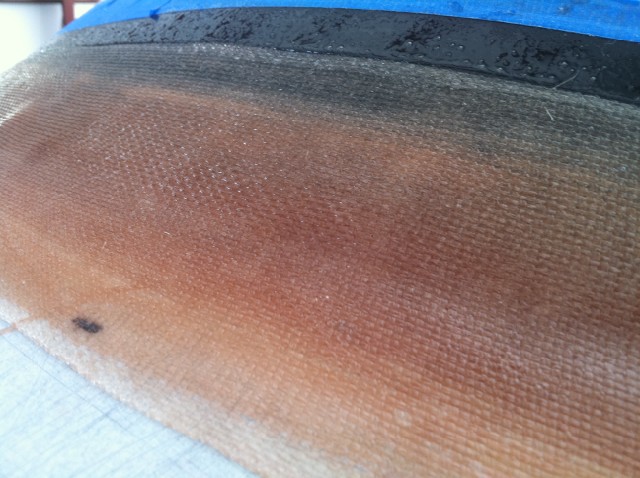
The hardest part of the entire replacement was the fairing in of the lower lip to the fuselage. The required fiberglass cloth strips were added. Many applications of epoxy with microballoons and sanding were required to get the final finsh.

